How to apply Stencils
To apply your stencils follow these steps. Click on the diagrams to view a larger version or download the full PDF Guide.
To apply your stencils follow these steps. Click on the diagrams to view a larger version or download the full PDF Guide.

1. The surface you’re stenciling needs to be fully prepped, so ensure it is completely clean and dry before you start applying paint. Patios and paths need to be jet washed to remove any dirt and debris. Indoor flooring needs a coat of primer to create a nice even base for painting.
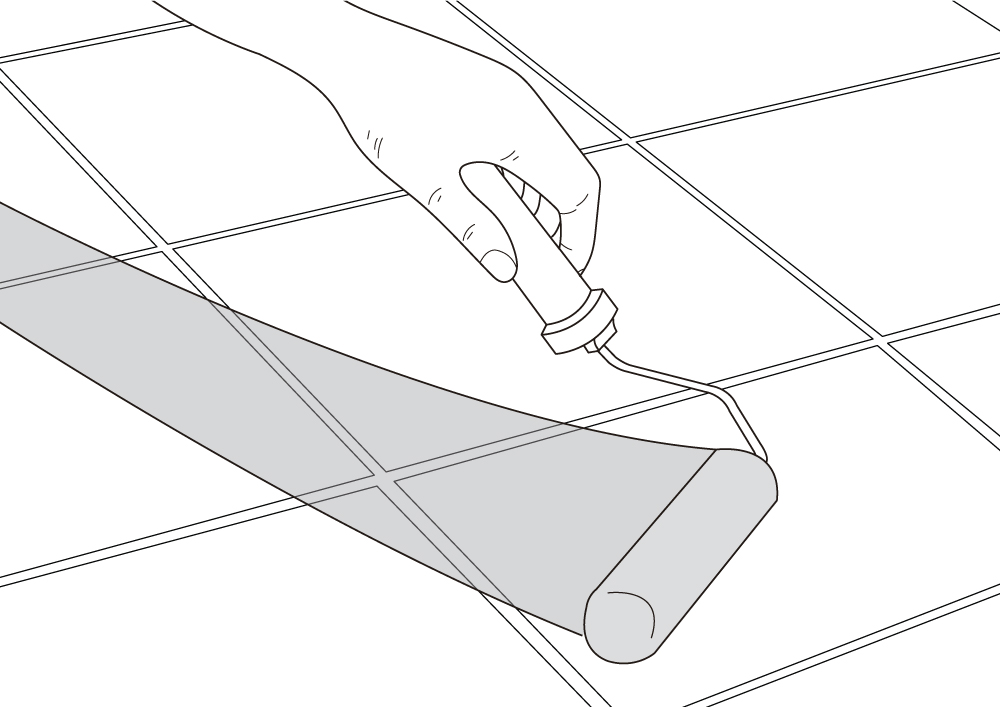
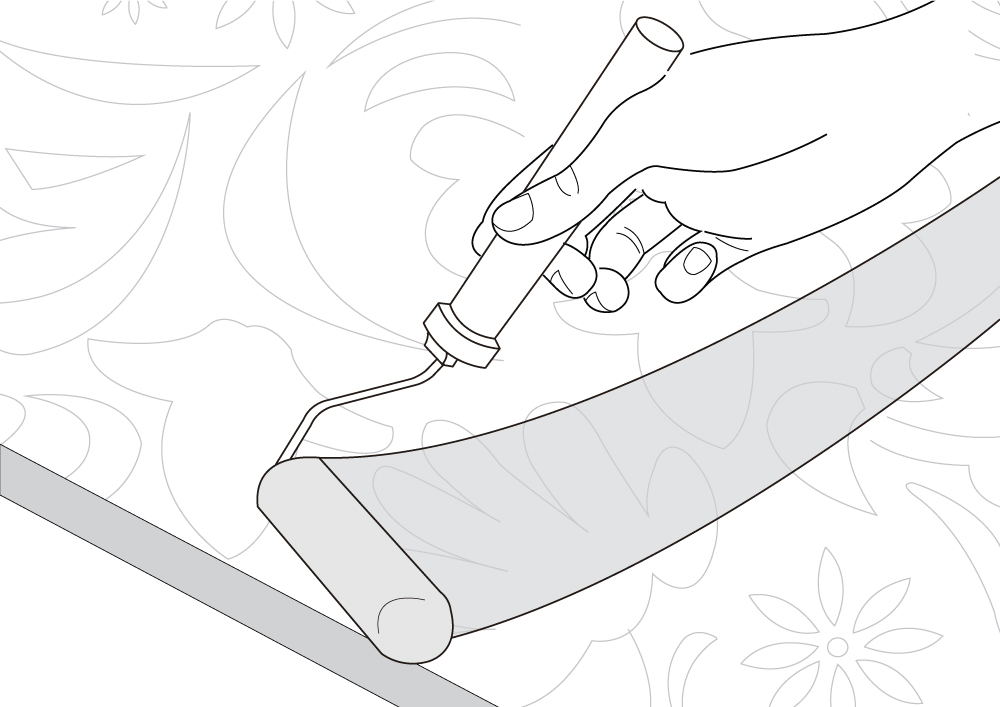
2. Use a roller to apply your base coat(s). This will form the background colour of your pattern. Your accent colour(s) will be applied over the top. Leave the paint to dry fully (in accordance with the manufacturer’s guidelines – this could be up to 24 hours)
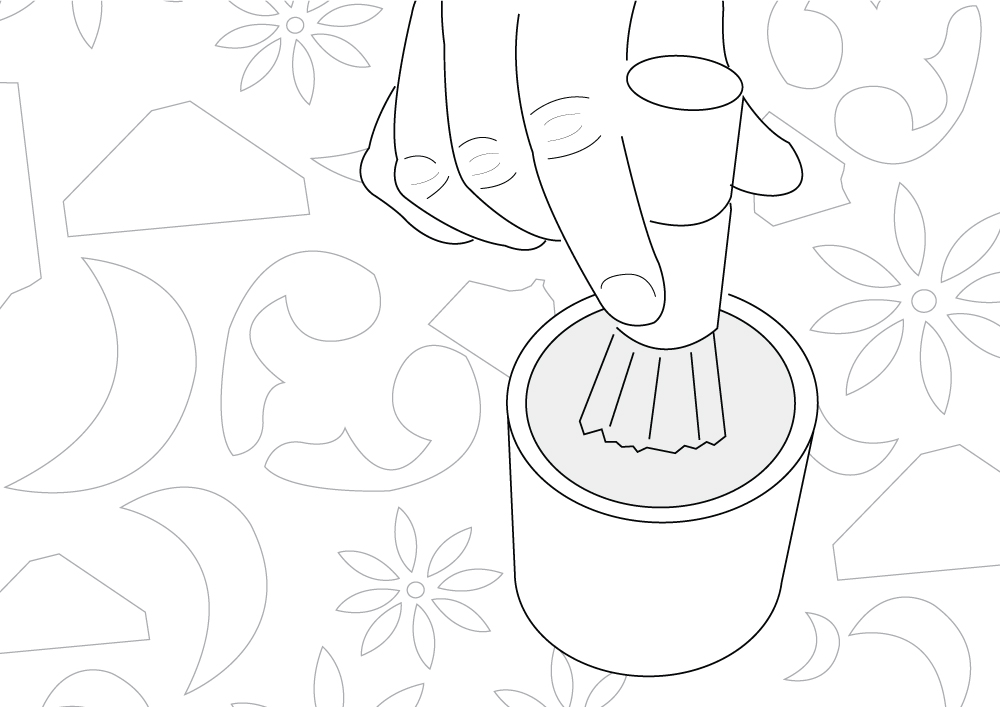
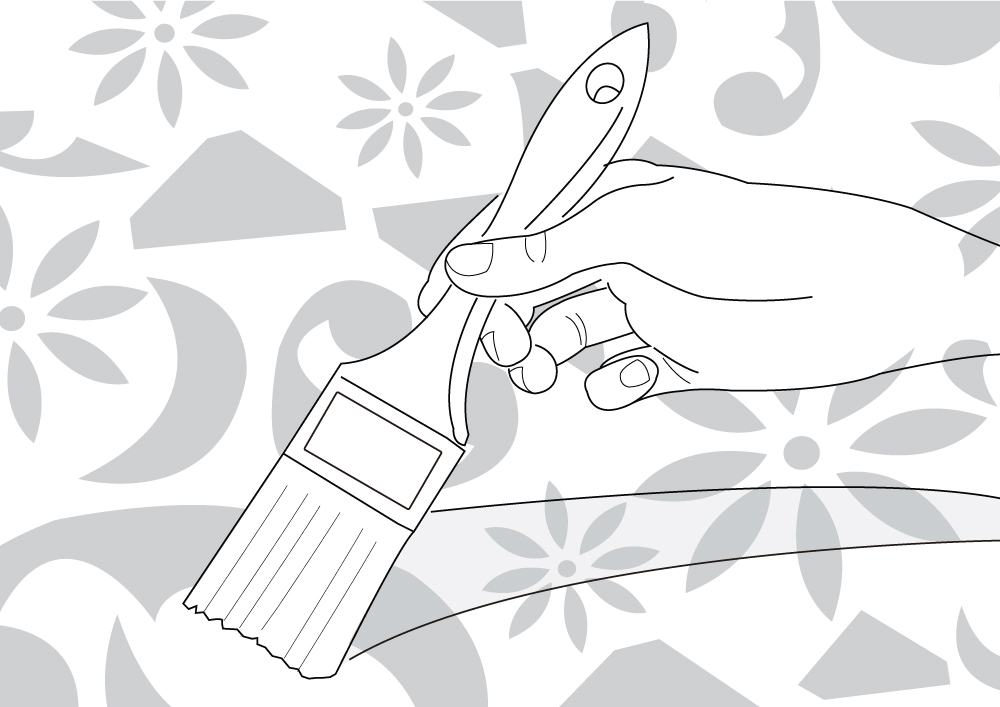
3. Starting from the furthest point in the room or patio, tape the stencil into place using masking tape. It’s very important that the stencil doesn’t move around when painting. Apply a small amount of paint to your brush or roller (it’s surprising how little paint you need – too much can cause bleeding to occur so do a test first on some paper).
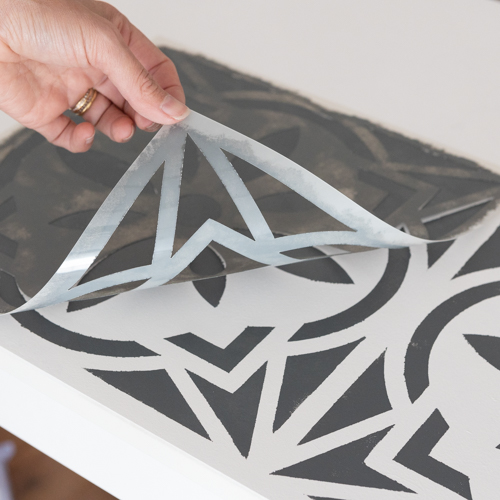
Carefully apply the paint, ensuring you cover all the cut-out areas but don’t go over the edges of the stencil. If you are using a couple of accent colours, make sure you paint the correct cut-outs! Once dry, carefully remove the stencil, wipe off any excess paint, then line it up with the painted pattern ready to go again. It is important that you clean the stencil between uses, as a build up of paint in the cut-out areas will prevent a neat finish.
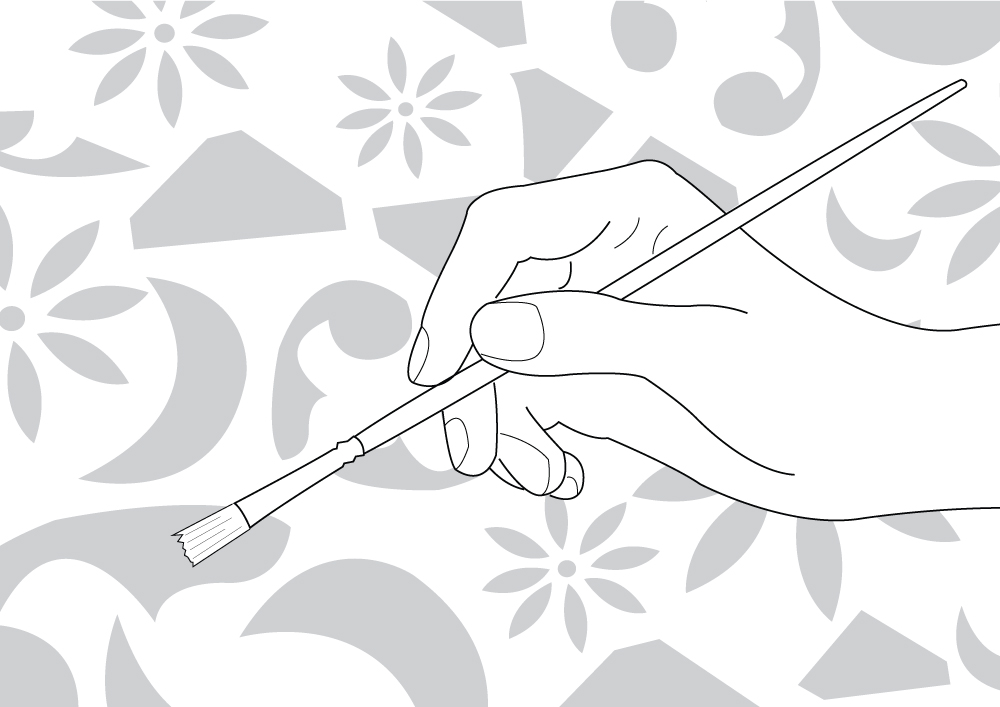
4. Once you have covered the whole area, check your work and if necessary, use a fine paint brush to touch up any bleeds or jagged lines. Leave to dry thoroughly.
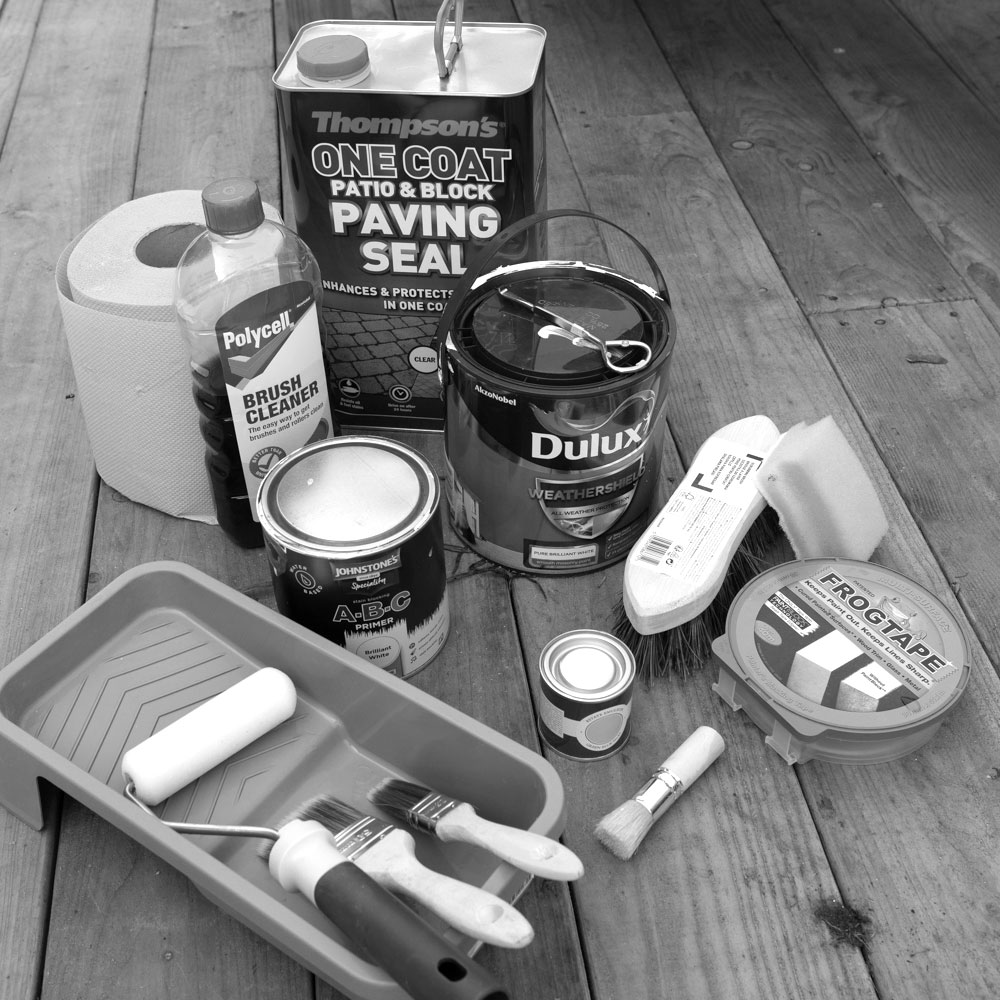
5. It’s time for the crucial step of sealing the surface to protect all your hard work. For indoor flooring apply a couple of coats of good quality CLEAR water based polyurethane varnish. For outdoor patios and paths use patio & paving seal for protection. Leave to dry between coats and follow the manufacturer’s instructions for best results.